English
Views: 0 Author: Site Editor Publish Time: 2026-07-20 Origin: Site
A heavy-duty vehicle AC condenser should be replaced when it leaks, is internally restricted, has severe fin or tube damage, cannot pass pressure testing, or is contaminated after compressor failure. For trucks, buses, construction equipment, agricultural machines, and specialty vehicles, the decision should not be based only on visible damage. The buyer or technician should confirm the failure mode, inspect related A/C components, and match the replacement condenser by core size, fitting direction, bracket layout, OE reference, airflow path, and installation environment.
This guide is written for repair networks, fleet buyers, importers, wholesalers, and distributors that handle heavy-duty AC condenser replacement. It explains how to diagnose condenser problems, what test results matter, why related parts such as receiver driers and expansion valves are often involved, and what information should be sent before requesting a quotation. Elecdura supports AC condenser sourcing, wholesale AC condenser programs, and related A/C parts including receiver driers, expansion valves, and AC compressors.
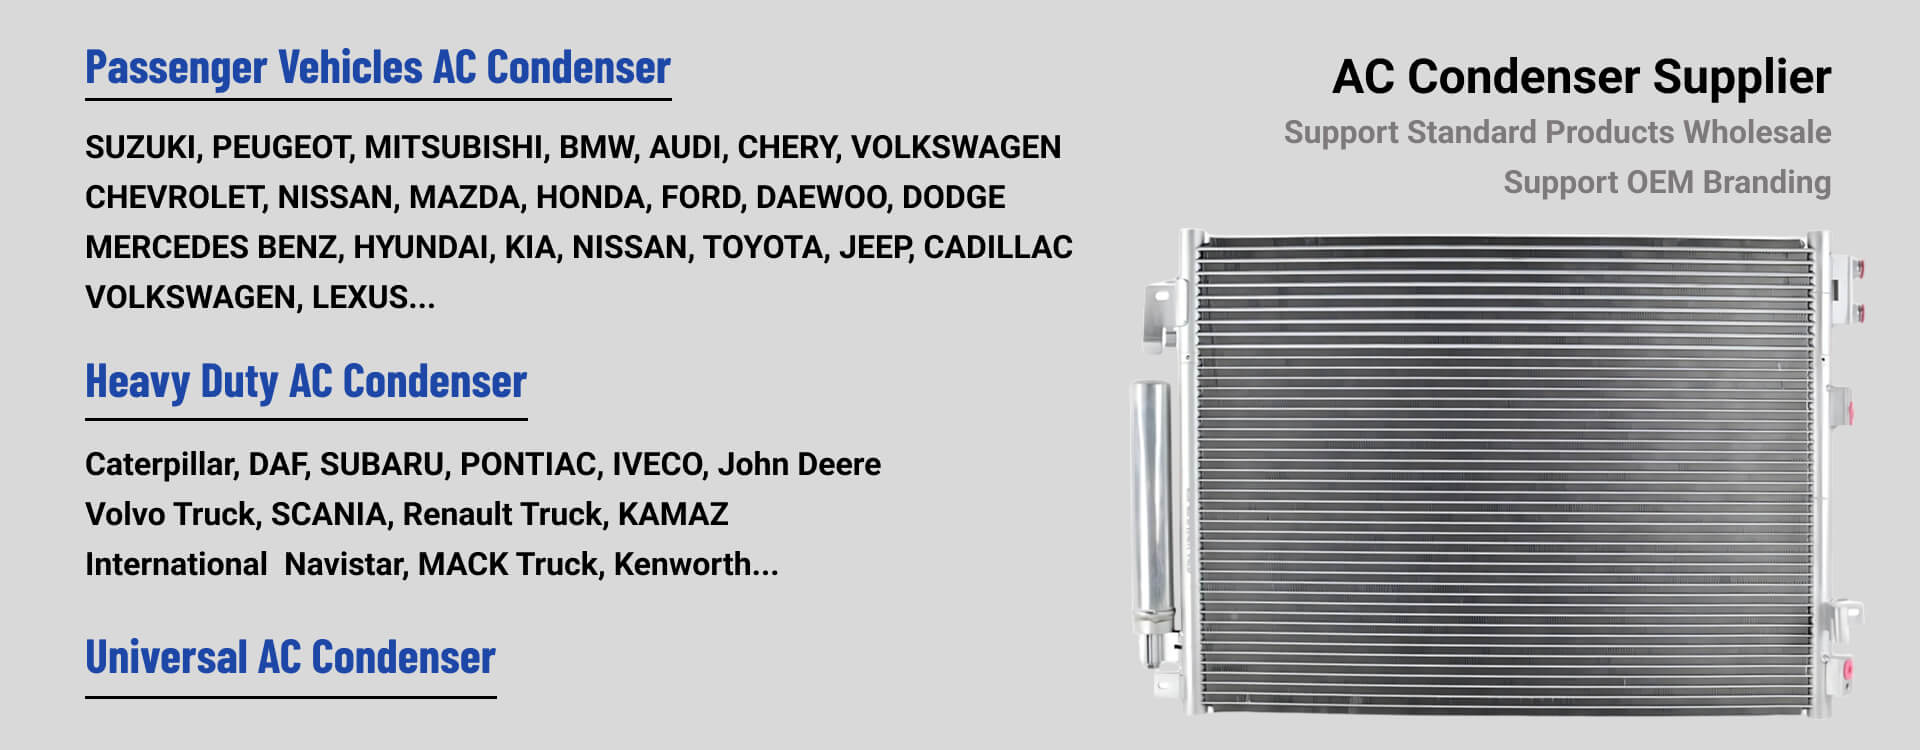
Heavy-duty condenser replacement should confirm leakage, restriction, fittings, brackets, airflow, and related A/C system condition.
Finding | Likely decision | Reason |
|---|---|---|
Visible oil stain with UV dye at condenser tube, header, or fitting | Replace after confirming leak source | Condenser leaks are usually not durable repairs on heavy-duty vehicles. |
High-side pressure abnormally high with poor heat rejection | Inspect airflow first, then test for restriction | Blocked fins, weak fan airflow, or internal restriction can create similar symptoms. |
Compressor failure with debris in the discharge line | Replace condenser if flushing is unreliable | Parallel-flow condensers can trap debris and damage the new compressor. |
Minor bent fins without leak and normal pressure | Clean and straighten if practical | Cosmetic fin damage alone does not always require replacement. |
Corroded fittings or damaged mounting brackets | Replace if sealing or mounting integrity is compromised | Vibration and leakage risk are high in heavy-duty applications. |
Passenger vehicles and heavy-duty vehicles both use condensers to reject heat from refrigerant, but their operating environment is different. Heavy-duty trucks and equipment often work in higher heat, more dust, stronger vibration, and longer duty cycles. A condenser may sit in front of a radiator, charge air cooler, hydraulic oil cooler, transmission oil cooler, or auxiliary fan system. Airflow is often shared across several heat exchangers, so one dirty or blocked core can affect the whole cooling stack.
The replacement process is also different from a simple car repair. A truck fleet may care about downtime and repeat failure. A bus operator may care about passenger comfort. A construction machine may work in dusty sites where fins clog quickly. An agricultural machine may operate seasonally and sit unused for months. A distributor may need to stock several visually similar condensers for different cab or engine configurations. These conditions make confirmation more important before buying.
The most obvious symptom is poor cabin cooling, especially when the vehicle is idling, moving slowly, or operating in high ambient temperature. Because the condenser must reject heat from high-pressure refrigerant, weak condenser performance can cause high head pressure and reduced A/C cooling. The driver may report warm air at stops but better cooling while driving. In heavy-duty vehicles, this often points to airflow or condenser heat rejection problems, but the fan, shroud, radiator stack, and refrigerant charge must also be checked.
Visible refrigerant oil or UV dye around the condenser is a stronger sign of leakage. Leaks often appear at tube-to-header joints, fittings, damaged tubes, corroded areas, or impact points. Road debris, stones, vibration, and salt exposure can damage condensers. If the leak is in the core, replacement is usually the practical repair. Temporary sealants are risky because they can contaminate the A/C system and create problems for compressors, expansion valves, and service equipment.
Another symptom is abnormal pressure readings. A restricted condenser may create high discharge pressure and weak cooling. However, high pressure can also be caused by overcharge, non-condensable gases, blocked fins, weak fan airflow, dirty radiator stack, or a failing expansion valve. That is why pressure readings must be interpreted with the system condition, ambient temperature, airflow, and refrigerant charge in mind.
Leak testing should start with visual inspection. Look for oily residue, UV dye, damaged fins, impact marks, corroded joints, and loose fittings. In heavy-duty vehicles, also inspect areas where vibration may rub the condenser against brackets, frame members, grille supports, or other heat exchangers. A leak at the condenser fitting may be caused by an O-ring, thread damage, tube crack, or stress from incorrect hose routing.
UV dye can help confirm slow leaks if dye is already in the system. Use it carefully and do not assume every stain is the condenser. Compressor shaft seals, hose crimps, pressure switches, service ports, drier connections, and evaporator drains can also show oil or dye traces. Clean the area first if the system is dirty, then run the system and inspect again.
Nitrogen pressure testing is useful when the system is empty or after repair. The condenser should hold pressure according to safe service procedure and equipment limits. Do not use oxygen or unsafe compressed gases. Listen for leaks, apply approved leak-detection solution around joints and fittings, and watch pressure decay. If the condenser core fails the test, replacement is usually required.
Pressure diagnosis should compare low-side pressure, high-side pressure, ambient temperature, vent temperature, and fan operation. A condenser problem often shows high high-side pressure with poor cooling. But the same pattern may occur with blocked airflow, overcharge, non-condensables, or a cooling fan fault. Before condemning the condenser, confirm that the fan runs at the required speed and that the condenser face is not blocked by dust, mud, leaves, plastic film, or bent fins.
Temperature drop across the condenser can also help. The inlet side should be hotter than the outlet side because the condenser removes heat from refrigerant. An unusually cold section or sharp temperature difference may indicate restriction. A uniformly hot condenser with poor pressure drop may indicate insufficient airflow or overcharge. These checks require care, but they prevent replacing a condenser when the actual issue is fan control, refrigerant charge, or airflow blockage.
Airflow is critical. A condenser with perfect internal condition will underperform if air cannot pass through the core. Heavy-duty vehicles often have layered cooling stacks. Dirt can collect between the condenser and radiator or between the radiator and charge air cooler. The front surface may look acceptable while the hidden gap is packed with debris. Remove covers or separate stack components when necessary to inspect properly.
Check the fan system. A mechanical fan clutch, electric condenser fan, radiator fan assembly, fan shroud, or fan control module may be responsible for weak airflow. Elecdura's guide to cooling fan diagnosis can help separate motor, relay, resistor, and module issues. If the condenser is replaced but airflow remains weak, the new condenser may still produce poor cooling and the customer may blame the part.
Compressor failure is one of the most important reasons to replace a condenser even when there is no visible external leak. When a compressor fails internally, metal particles, burnt oil, or other debris can travel into the discharge line and condenser. Many modern condensers use parallel-flow or microchannel passages. These small passages are efficient for heat transfer but can trap debris. Flushing may not remove contamination reliably.
If debris remains in the condenser, it can damage the replacement compressor, restrict refrigerant flow, contaminate the expansion valve, and reduce system life. This is why many compressor replacement procedures also recommend replacing the receiver drier or accumulator, expansion valve or orifice tube, and sometimes the condenser. For warranty control, distributors should ask customers whether the compressor failed catastrophically before selling only one component.
Heavy-duty AC condensers may use tube-and-fin, serpentine, parallel-flow, or microchannel construction depending on application and age. Older designs may be easier to flush, while parallel-flow and microchannel designs are efficient but more sensitive to contamination. A buyer should not assume construction type from the vehicle category alone. Confirm the replacement design and whether it is equivalent to the original.
For procurement, construction affects performance, repairability, and shipping risk. Microchannel condensers can be compact and efficient, but their small passages require cleaner systems. Tube-and-fin designs may be more tolerant in some environments but may not match OE performance. If a supplier offers an "upgraded" or "universal" condenser, ask how it compares with the OE design in cooling capacity, pressure drop, fitting layout, and mounting.
Condenser matching should never rely on title alone. Heavy-duty vehicle condensers often have similar rectangular shapes, but small differences create installation failure. The core size must match the available airflow area. The overall dimensions must fit the mounting space. The inlet and outlet must be on the correct side and at the correct angle. Brackets must align with the vehicle frame or radiator support. Fittings must match the hoses without stress.
Matching field | What to provide | Common mistake |
|---|---|---|
OE or cross-reference number | Number from old part, catalog, or service data | Using an incomplete or market-specific reference without checking photos |
Core size | Core width, height, and thickness | Measuring overall size but not core dimensions |
Fittings | Inlet/outlet side, angle, thread, and fitting type | Buying a visually similar condenser with opposite port direction |
Mounting | Bracket position, hole distance, rubber mounts | Ignoring small bracket offsets that prevent installation |
System context | Compressor condition, drier status, fan operation | Replacing the condenser without correcting the root cause |
Fitting alignment is one of the most common causes of wrong orders in heavy-duty condenser sourcing. The replacement may have the right core size but the inlet or outlet may point in a different direction. If the hose is forced into position, the tube may be stressed and later crack from vibration. This is especially risky on trucks and equipment because hose routing may be tight around the frame, radiator support, grille, or engine bay components.
Buyers should send close-up photos of both fittings and measure the distance from fitting centerline to the nearest mounting points. If thread type or fitting standard is unknown, send photos with a ruler or caliper. For bulk orders, request a sample and verify hose alignment before approving volume production.
Heavy-duty condensers are exposed to vibration. A weak bracket, missing rubber isolator, or poor mounting alignment can shorten service life. If the original condenser failed at a tube near a bracket, the cause may be vibration fatigue rather than simple age. Replacing the condenser without checking mounting support can lead to repeat failure.
When matching, inspect the bracket style carefully. Some condensers have welded tabs, bolted brackets, rubber mounts, lower pins, or side supports. The replacement must not only fit the holes; it must hold the condenser without twisting the core. Packaging should also protect brackets during transport because bent mounting tabs can make an otherwise correct condenser unusable.
The condenser is part of a system. If it is replaced after a leak, the receiver drier is often replaced because the system has been opened and moisture can enter. If compressor failure occurred, the expansion valve or orifice tube may also need replacement because debris can restrict flow. If high pressure caused the failure, inspect the fan, fan module, pressure switch, and airflow path. If the condenser was damaged by collision, inspect hoses and fittings for stress.
For repair networks, selling related parts is not only upselling. It can protect the repair. A new condenser installed with an old saturated drier, contaminated expansion valve, or failing compressor may not perform correctly. If your customers are wholesalers or repair chains, create condenser repair bundles where appropriate: condenser, receiver drier, O-rings, expansion valve or orifice tube, and sometimes compressor oil or seal kit depending on the repair.
Not every condenser with poor performance needs replacement. If the issue is external dirt, mud, leaves, or bent fins, cleaning and fin straightening may restore performance. Use proper cleaning methods that do not damage fins or force water into sensitive electrical areas. Clean from the correct side where practical, and inspect the hidden space between cooling-stack components.
Replacement is more appropriate when the condenser leaks, is internally restricted, has severe corrosion, has structural tube damage, or is contaminated after compressor failure. For heavy-duty buyers, the key is to document why replacement was chosen. This helps warranty communication and reduces disputes if a customer later claims the part was not needed.
Vehicle type: truck, bus, construction equipment, agricultural machine, RV, emergency vehicle, or specialty vehicle.
Make, model, year, engine, cab type, and market region.
OE number, cross-reference number, or number printed on the old condenser.
Clear photos of full condenser, label, fittings, brackets, damaged area, and side profile.
Core width, height, thickness, and overall dimensions including brackets.
Inlet and outlet position, tube direction, fitting thread, and hose connection style.
Mounting hole distance, bracket type, rubber mount position, and package clearance.
Failure context: leak, impact, corrosion, compressor failure, high pressure, poor cooling, or preventive replacement.
Related parts required: receiver drier, expansion valve, compressor, pressure switch, fan, O-rings, hoses.
Quantity, sample requirement, target market, packaging requirement, private label needs, and delivery plan.
Importers should require sample confirmation for new condenser SKUs, especially heavy-duty applications. A catalog cross-reference can be useful, but it is not enough. Ask the customer to compare the sample with the original part before placing a large order. Check bracket alignment, fitting direction, hose clearance, core size, carton protection, and installation feedback.
Use consistent product photography. Each condenser listing should show the front, back, fittings, bracket details, side profile, and label if available. This helps customers match parts visually and reduces inquiry time. For bulky condensers, packaging photos are also useful because shipping damage can become a major cost.
When a distributor receives a bulk condenser shipment, inspection should happen before the parts enter normal inventory. Check cartons for crush marks, moisture, and weak corner protection. Open sample cartons from different positions in the shipment, not only the top layer. Inspect fin areas, tube ends, fittings, brackets, and mounting tabs. A condenser can pass a visual front-surface check while a side bracket or tube outlet is bent inside the carton.
Record the first-batch inspection with photos. Compare each sample against the approved sample or drawing: core size, overall dimensions, fitting angle, bracket distance, label, carton mark, and included accessories. If the condenser uses caps or plugs on the fittings, confirm they are installed tightly to keep debris out. For mixed-SKU orders, separate similar condensers carefully because two models may differ only by port direction or bracket offset. A simple receiving checklist can prevent warehouse mix-ups that later look like supplier quality problems.
Replace a heavy-duty AC condenser when leakage, restriction, severe damage, corrosion, or compressor contamination makes repair unreliable. Before buying, confirm airflow, fan operation, pressure readings, related A/C components, and exact physical matching fields. Do not order by title alone. Heavy-duty condensers must match the vehicle's core size, fittings, brackets, mounting space, and system requirements.
If you need wholesale support, send Elecdura the OE number, old condenser photos, core measurements, fitting close-ups, bracket details, vehicle application, failure context, and required quantity. Elecdura can help compare heavy-duty, passenger vehicle, and universal condenser options and connect the condenser with related A/C parts needed for a complete repair program.